Step 1. Open Fast In Flow & Connect Tally
1. Open the Help page and match the Tally Port in Column ‘D4’ with the port configured in Tally. (In Tally, configure the port by pressing F12 on Gateway –> Advanced Settings.)
2. Now, on the screen, click the connect Tally button.
Step 2. Copy data in Purchase/Sales Sheet
1. Choose the Purchase/Sales sheet and the Check Mode shown in Column D1. If the mode is different, click the Without Inventory button.
2. Copy the necessary field below:
a) Inv No.
b) Date
d) Name of the Party/Customer
d) Supply Location
e) Taxable Amount (separate columns are given for each GST rate)
The rest of the data, such as GST and Inv Amount, is computed automatically.
3. If necessary, copy optional information such as party GST no., narrative, consignee name, reference no., and reference date into future columns.
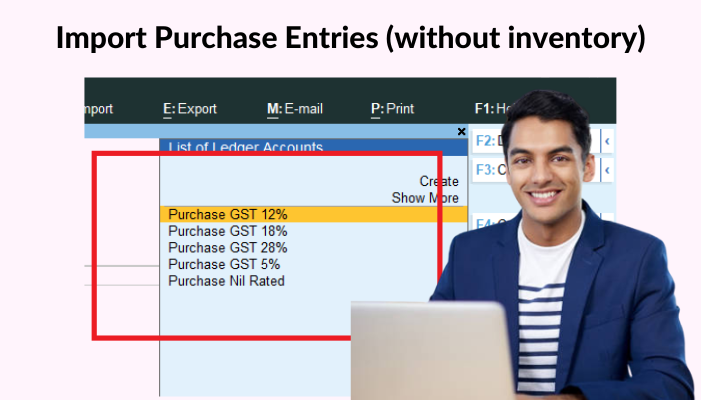
Step 3. Purchase/GST Ledger Mapping
1. Click the Ledger Mapping button to launch a mapping window.
2. On the mapping window, there are several drop down menus with preloaded tally ledgers. Choose the appropriate purchase ledgers from the drop-down menu.
3. Purchase ledgers can be mapped based on GST% and Transaction Type (Local or Inter-State)
4. Choose the CGST, SGST, and IGST ledgers for the various GST rates.
Step 4. Validate Sheet
1. In Cell E2, choose Voucher Type. All default and custom vouchers in Tally will be displayed here.
2. Select the Calculate & Validate option to find any errors in your data and get the error sheet report.
3. Click on the links to correct the inaccuracies
4. Mistakes are classed generically as follows:
Error in Party Name- See next step for resolution.
Date Error- The date should be excel legible and within the financial year specified in Column ‘C2’.
POS Error- Choose POS from the available drop-down menu.
Taxable values should be within the permitted digits after the decimal point (Usually 2 decimal)
Step 5. Resolve party name error
1. All new party ledgers are transferred to the ledger sheet after confirmation. Go to the ledger page and export it to Tally.
2. Alternatively, you may change the name of the party ledger on the purchase sales sheet by using the drop-down menu.
Step 6. Validate again and Export
Verify the sheet once again to ensure that all mistakes have been deleted. If the validation process is successful, click the Export to Tally button. Every data will be promptly exported to tally.
Go to tally and verify your data.
Get FREE Demo of Excel To Tally Software